BlackMesa XenEngine: Part 4 – Lighting & Shadows
How it all started
When I played the mod or even the 2012 Steam version of the black mesa, we were getting around 200-400 FPS on most parts of the game, and it dips to only 80-100fps even on some of those heavy spots. These results were from Intel 4700K 16GB ram and GTX780 / GTX 1080.
So there was this idea in my head that instead of rendering the game at 200+ FPS all the time, what if we render the scene 2 – 3 times to implement some sort of GBuffer for dynamic lighting along with Shadows & other effects, basically bringing the engine tech a bit closer to modern times.
I thought we could easily optimize those tricky spots/levels if needed (both in code & art). Even some level designers agreed with me, so it all seemed like a walk in the park (spoiler alert: it wasn’t). We decided to throw everything in and worry about optimizing later because that’s just how we roll! Obviously, our brilliant idea of using fancy engine upgrades (not just G-buffer) and going wild with artistic creativity ended up biting us in the performance department. You’ll hear all the juicy details in a future post about our escapades in “Performance & Optimization.” Stay tuned!
The initial plan was to do it mainly for dynamic lighting at first, and then depending on FPS budgets & how much development time we can spare in r&d, we may not explore some other effects. Most of these experiments were done off the books in my “Hobby-time” or ME Time. ( It was just one of many experiments I was running in my free time, and I am glad we could ship this one. )
Getting GBuffer Up and Running
I took a very rudimentary approach of just copying the project into 2 folders, one for just gbuffer and one for just deferred lighting ( & shadows). There were a lot of challenges and head-scratching moments, a lot of which can be attributed to my learning the Engine and all the hacks/ tricks specific to the source engine or even our version of the codebase. It was a significant engineering task of getting into an ancient codebase with millions of lines of code with no documentation and changing it significantly without breaking 12+ yrs of development work or half of our game already on Steam. The chances of making it all work and work on time for Xen were not good. That’s why I kept this (and other experiments ) to myself until I was 110% sure we could ship it, so I don’t get everyone’s hopes up for no reason.
Well, an exception to this is the dx11 upgrade. I tried a couple of times and bitch/moaned about it a few times over Discord/skype. I was very passionate about it, and dropping it was heartbreaking.
Another thing I wished at the time was that there were so many mod teams even at the time working on trying to upgrade the Engine for their respective projects independently. I wish there was a way for all these licensed independent teams to share their work so that instead of trying to reinvent the wheel 200 times independently, we could collectively upgrade the Engine to a greater extent, which would have benefitted everyone. Some teams had a 64-bit version of the source; some had fancy upgraded Hammer (map editor); some were working on dx11, etc. Imagine a platform or a way to share progress with all the licensees so we can have a community version of the Source engine that doesn’t su.. / look ancient in 2022.
Even after getting it all working in my prototype folders (sort of ), it was a huge task to get it all done again correctly in the Engine to make it work in production without breaking everything. It was a 4 step process without a lot of challenges & hurdles in each –
- Upgrade to ShaderModel 3.0 – Although the source engine supports DirectX 9,0c & SM3.0, our version mainly used the SM2.0 code path. Limitations of SM2.0 would have made it impossible to do anything fancy, so it was the essential first step toward any engine upgrades. ( Massive shoutout to Mark Abent here for handling most of this work and cleaning up related code to save a lot of time for me later on and to make sure I don’t lose my sanity. )
- Reduce Shader Combos & Compile Time – While working on CSM the first time, we tried compiling the shaders on the cloud with 24 core server. After running it for around a couple of hrs, we estimated it would take around 30 days to compile all the combos of main shaders. These estimates were from after integrating CSM modifications from CSGO long before I thought of anything fancy. At the time, I implemented a deferred pass for CSM to calculate shadows in a separate CSM ShadowBuffer and move all the CSM-related combos out of the main shaders. And main shaders would only have 1 combo CSM on/off, fetching sun/shadow contribution from 1 screenspace texture. These changes brought it down to around 1 day ( if I remember correctly ). This was even without the edition of Gbuffer/DeferredLights/ PBS based specular/ Moss shader etc., There would be a lot more shader combos than before, so it was becoming an increasing problem to the point that it would have been impossible to compile shaders in realistic timelines for us.
We had to do a couple of shader combo optimization passes to remove ancient combos & related features from shaders that were not being used in blackmesa or were being used only at 1-2 places.
We also removed a lot of shader combos by running related pieces of shader code all the time. A simple example would be removing a static combo for NormalMap ON/OFF & enable it all the time. If the object is not using a normal map, bind a dummy 2×2 pixel blue-colored normal map. Another easy example would be texture slots & combos for Diffuse / Phong warp textures and combining them into one Big atlas, and materials would then include just an index into this atlas instead of using special combos or textures.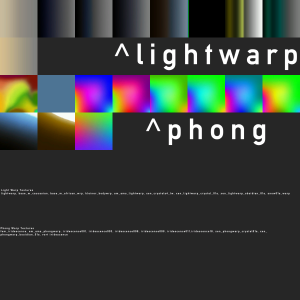
In some cases, we also replaced shader combos with dynamic branching. There was no noticeable perf hit when we tested shader combo vs dynamic branching. Nowadays, GPUs are very powerful and can handle the careful use of dynamic branches, especially when the branch result is the same for all the pixels in a group or even for a draw call.
We also had to upgrade our shader compiler tool from 32bit to 64bit to use more RAM. It was a memory-hungry tool, and this upgrade was essential to set up our upgraded cloud compile machine with 64 cores and around 128 gigs of RAM. Based on what I remember, our final version of main shaders compiled in about 15-20 hrs on 64 core machine. - Depth Buffer – Existing code path in the engine for depth buffer was half broken and was producing values between 0-4096 for some reason. I don’t remember investigating why. Instead, I just implemented my code path to generate an accurate Depth buffer with Reverse-Z approach. Existing code path in the Engine for the depth buffer was half broken and was producing values between 0-4096 for some reason. I don’t remember investigating why. Instead, I just implemented my code path to generate an accurate Depth buffer with a Reverse-Z approach.
- Gbuffer / Deferred Light pass – Finally, when we had a stable depth buffer up and running in all the main shaders tested in a few different maps, we implemented Gbuffer and Deferred Light passes to lock it down.

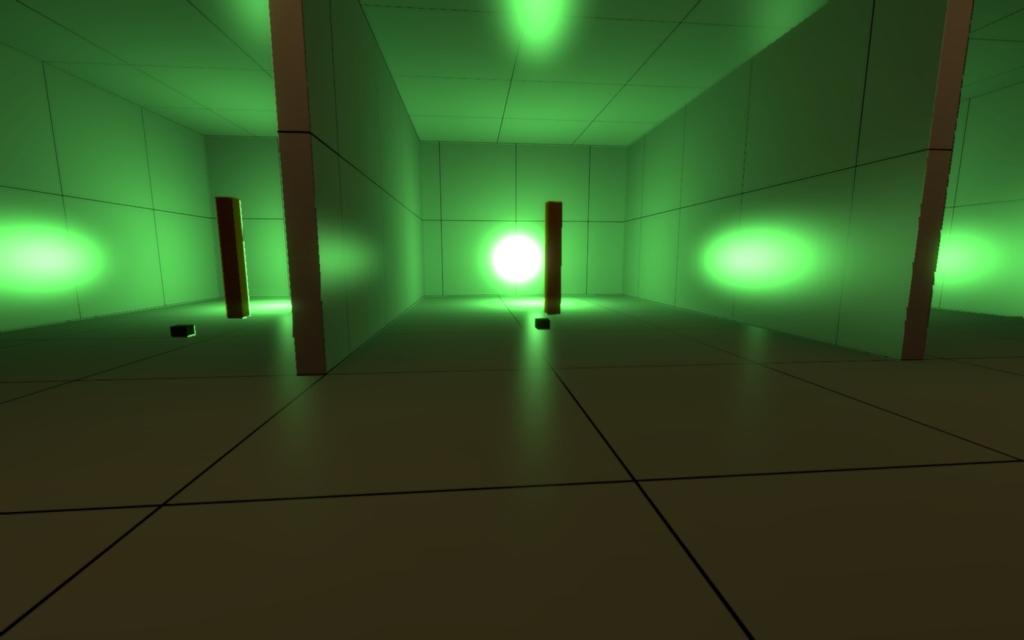
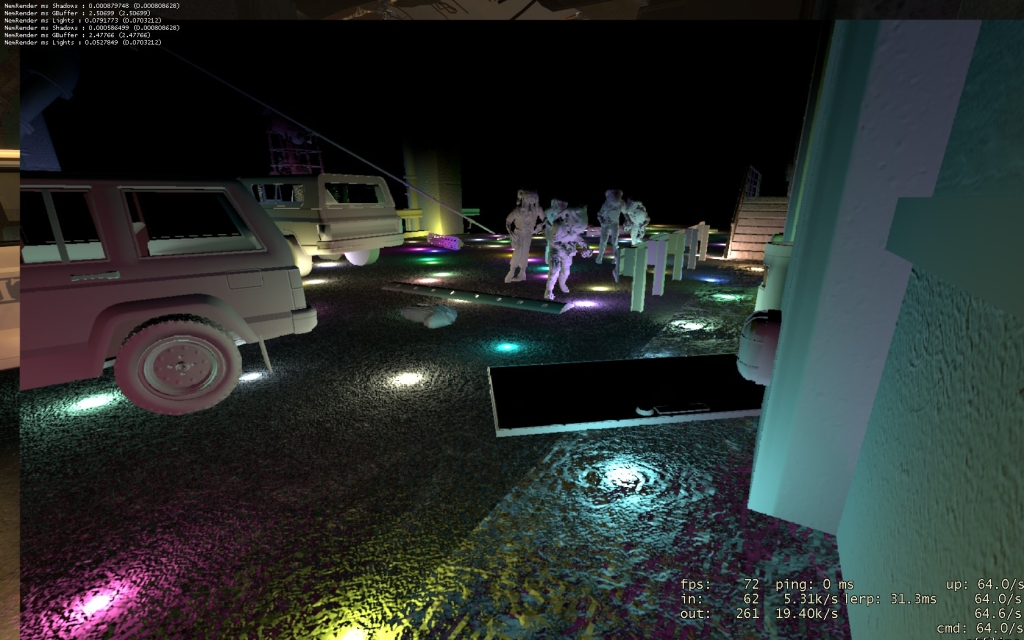
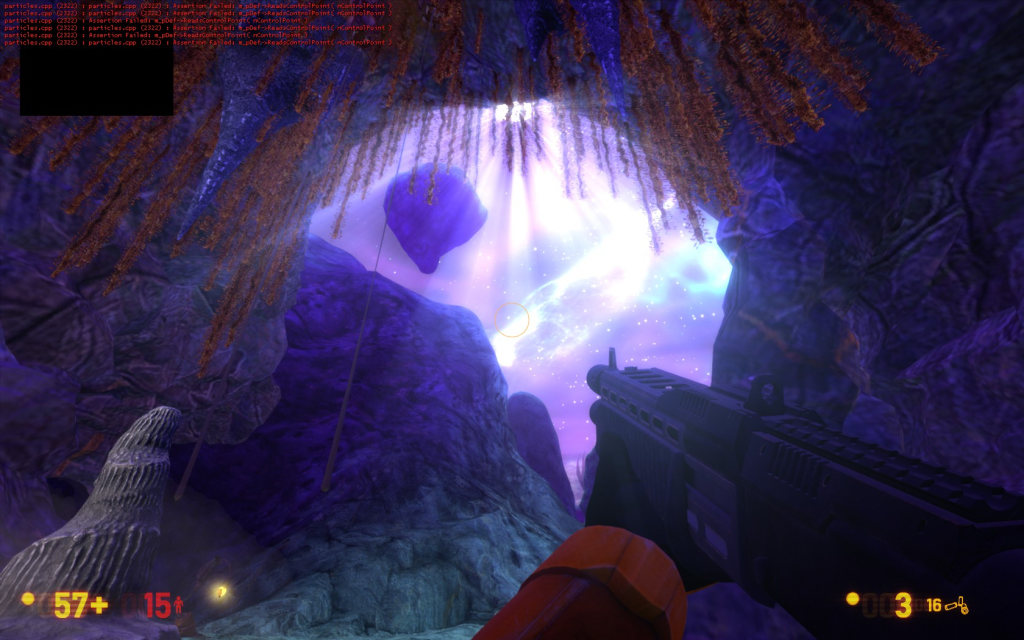
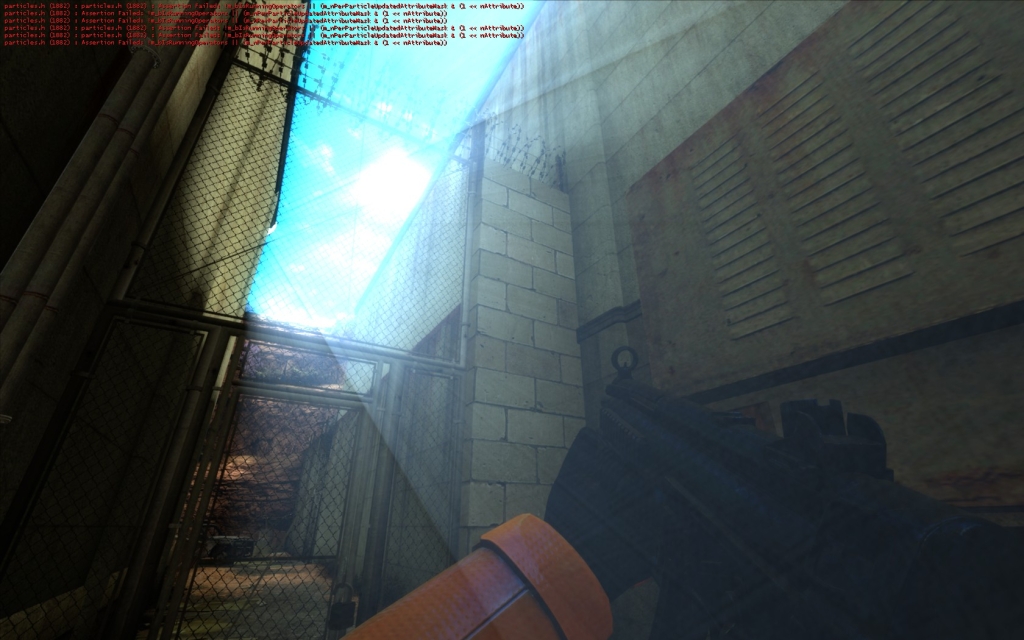
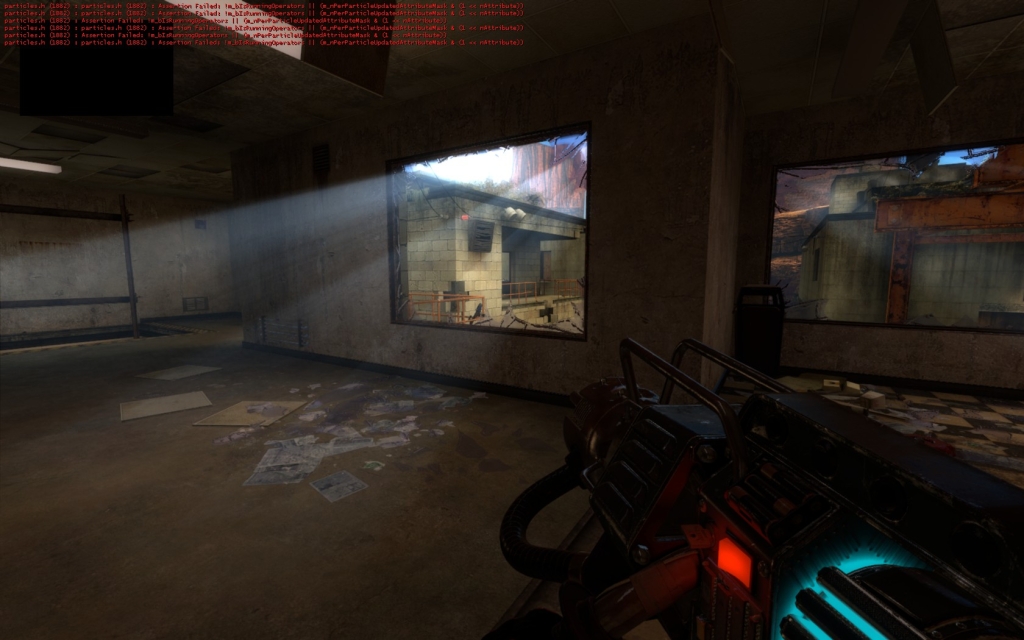
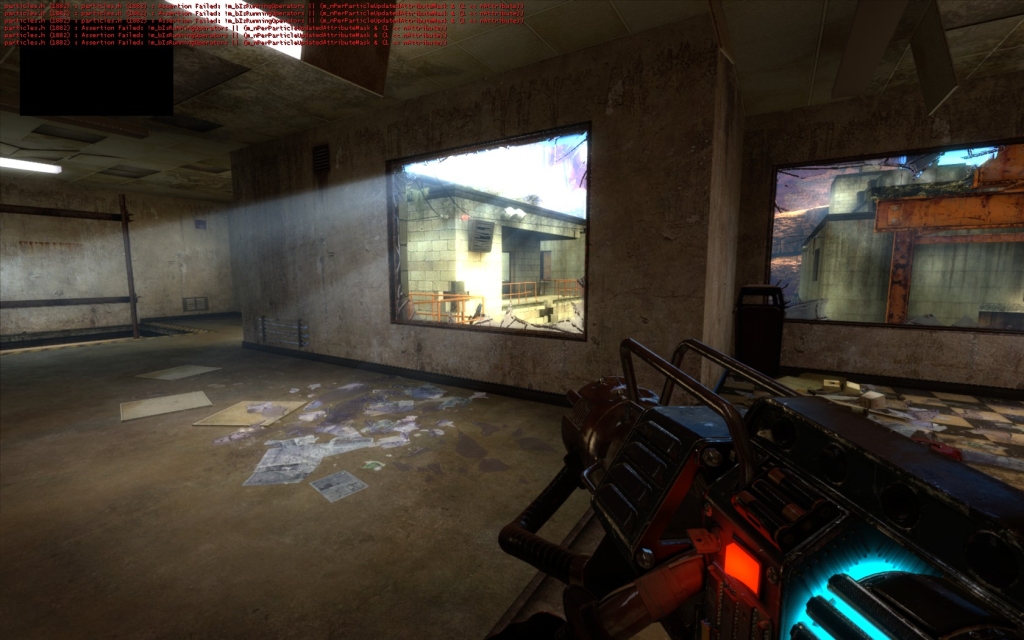
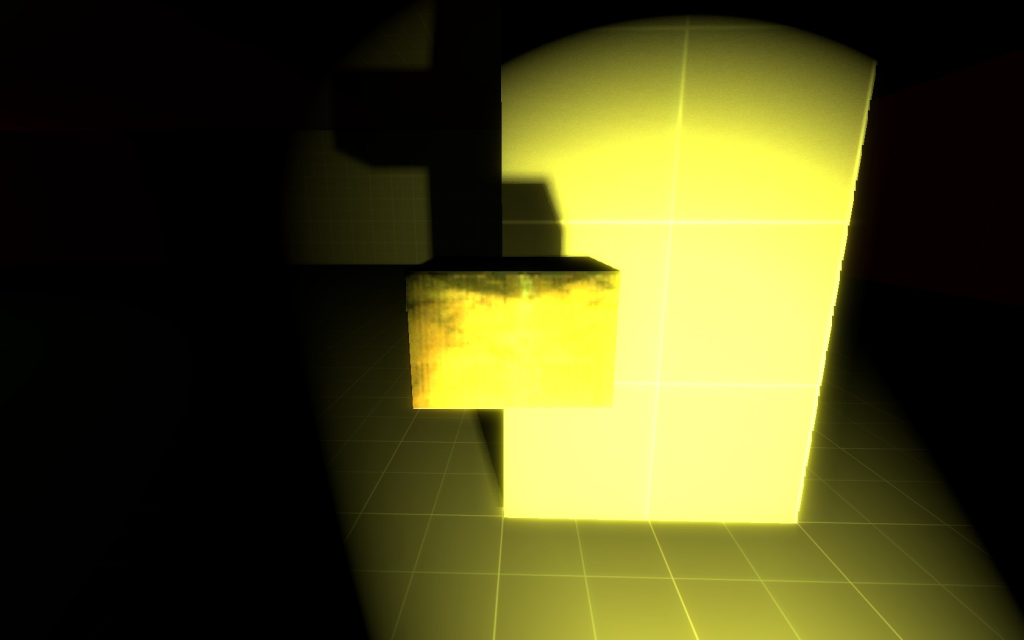
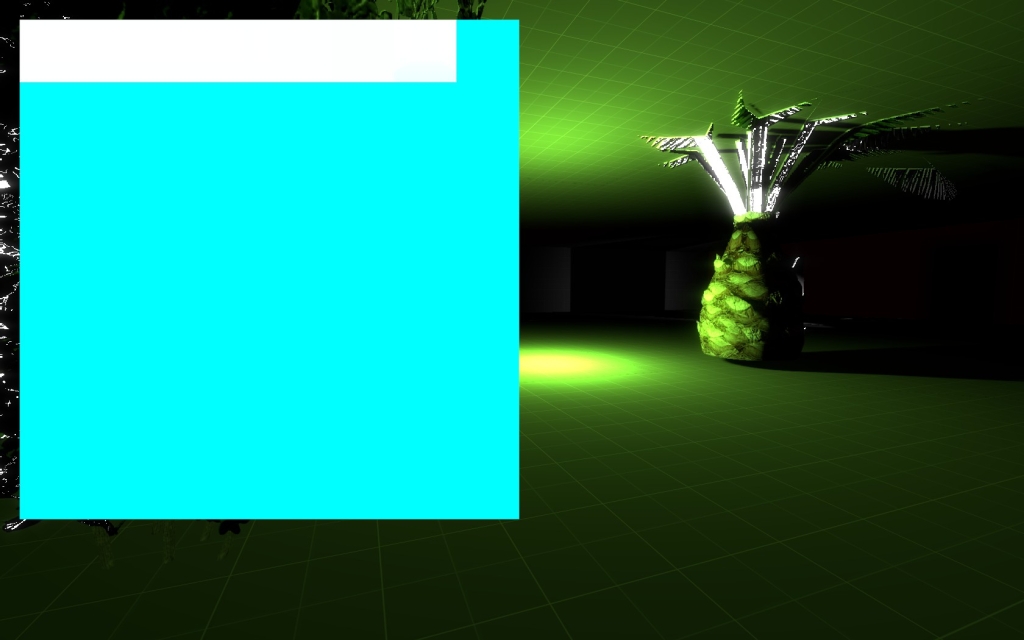
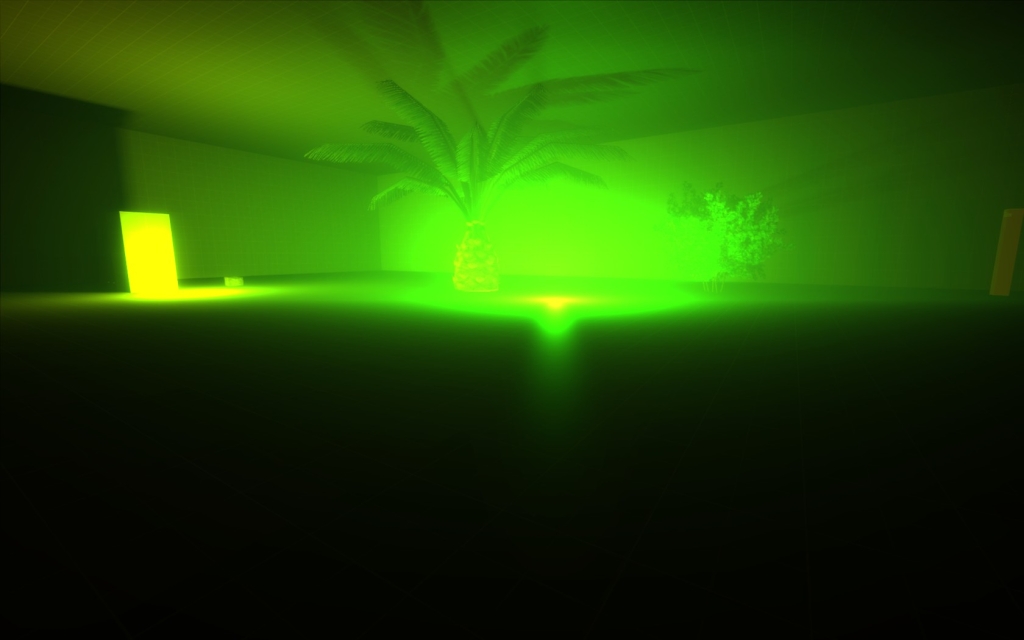
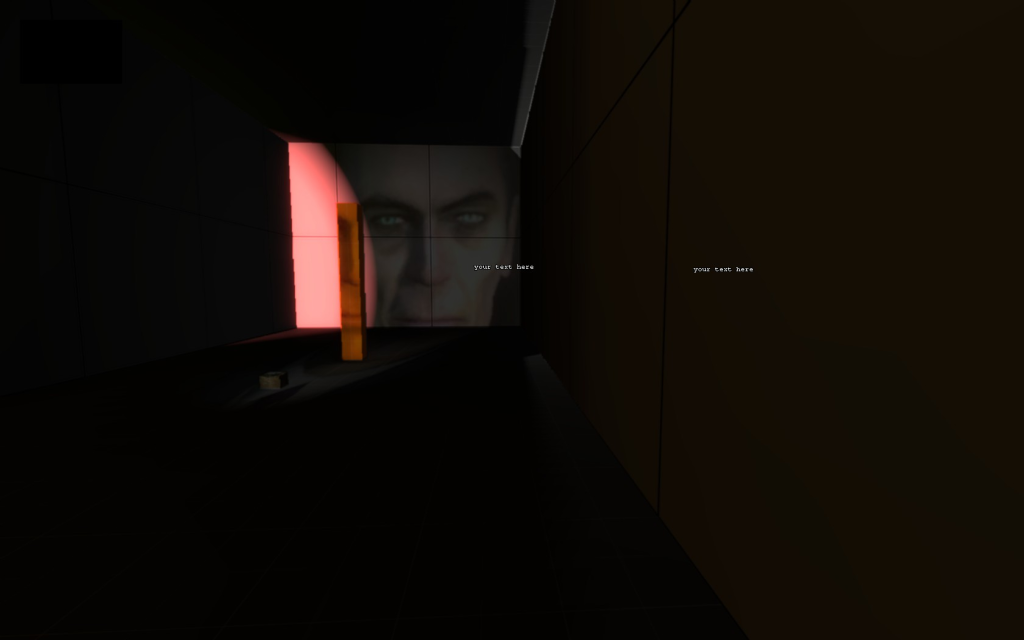
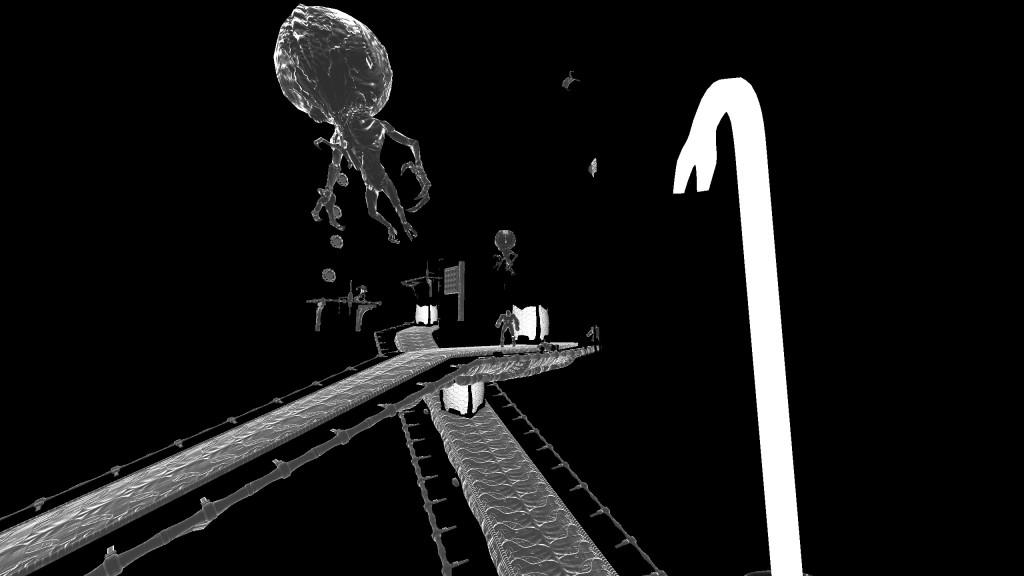
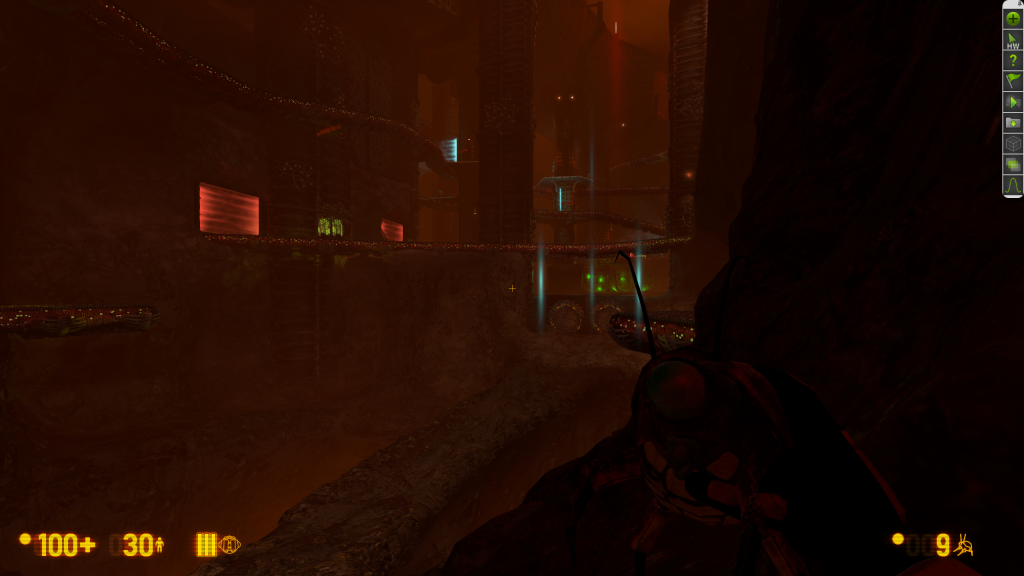
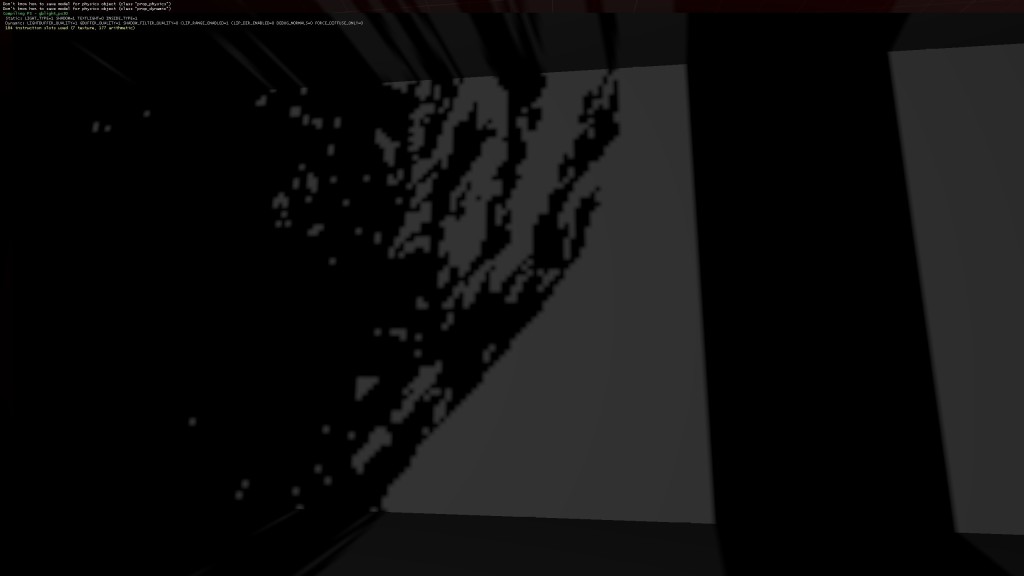
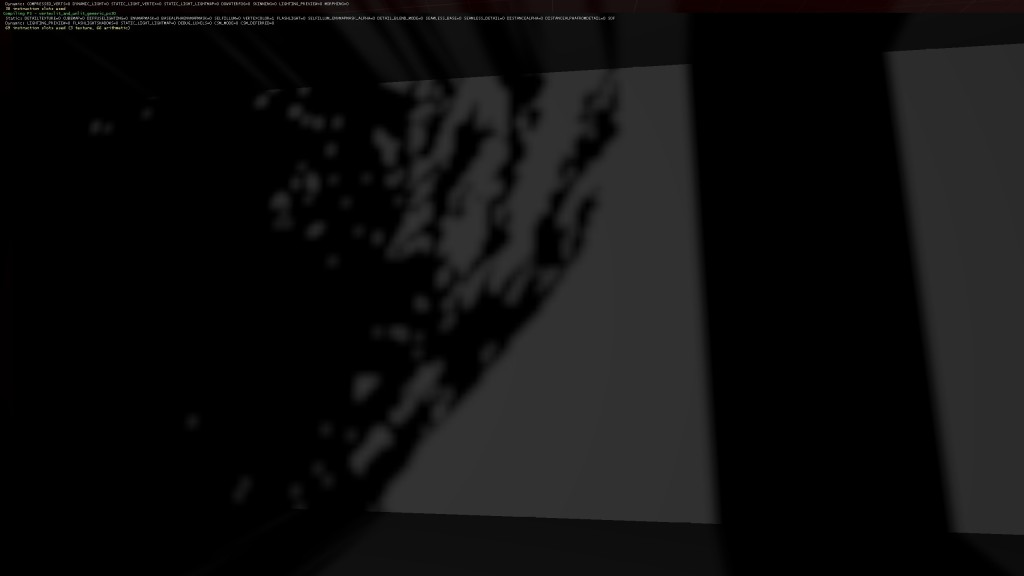
Here are some of the very first screenshots/videos shared on internal forums with announcement post/patch for NewRenderer (the internal name for a part of engine upgrades that would eventually become XenEngine).


We broke the Engine
Although we tried to be very careful while messing with shaders and low-level graphics/engine code, we still broke many things, and there were a lot of bugs. I think we managed to fix most of these bugs (I want to say around 90% ) within a month, with some leaking through. Due to some of those bugs’ rarity / unique conditions, it took quite a while to discover and fix all the shader bugs related to upgrading to SM3.0 and Deferred lighting.
I used to have two test maps, one small one with many different kinds of commonly used props from Earth and Xen levels to cover a variety of shader combos. Secondly, I used the Crossfire map, which was later used for perf testing as well.
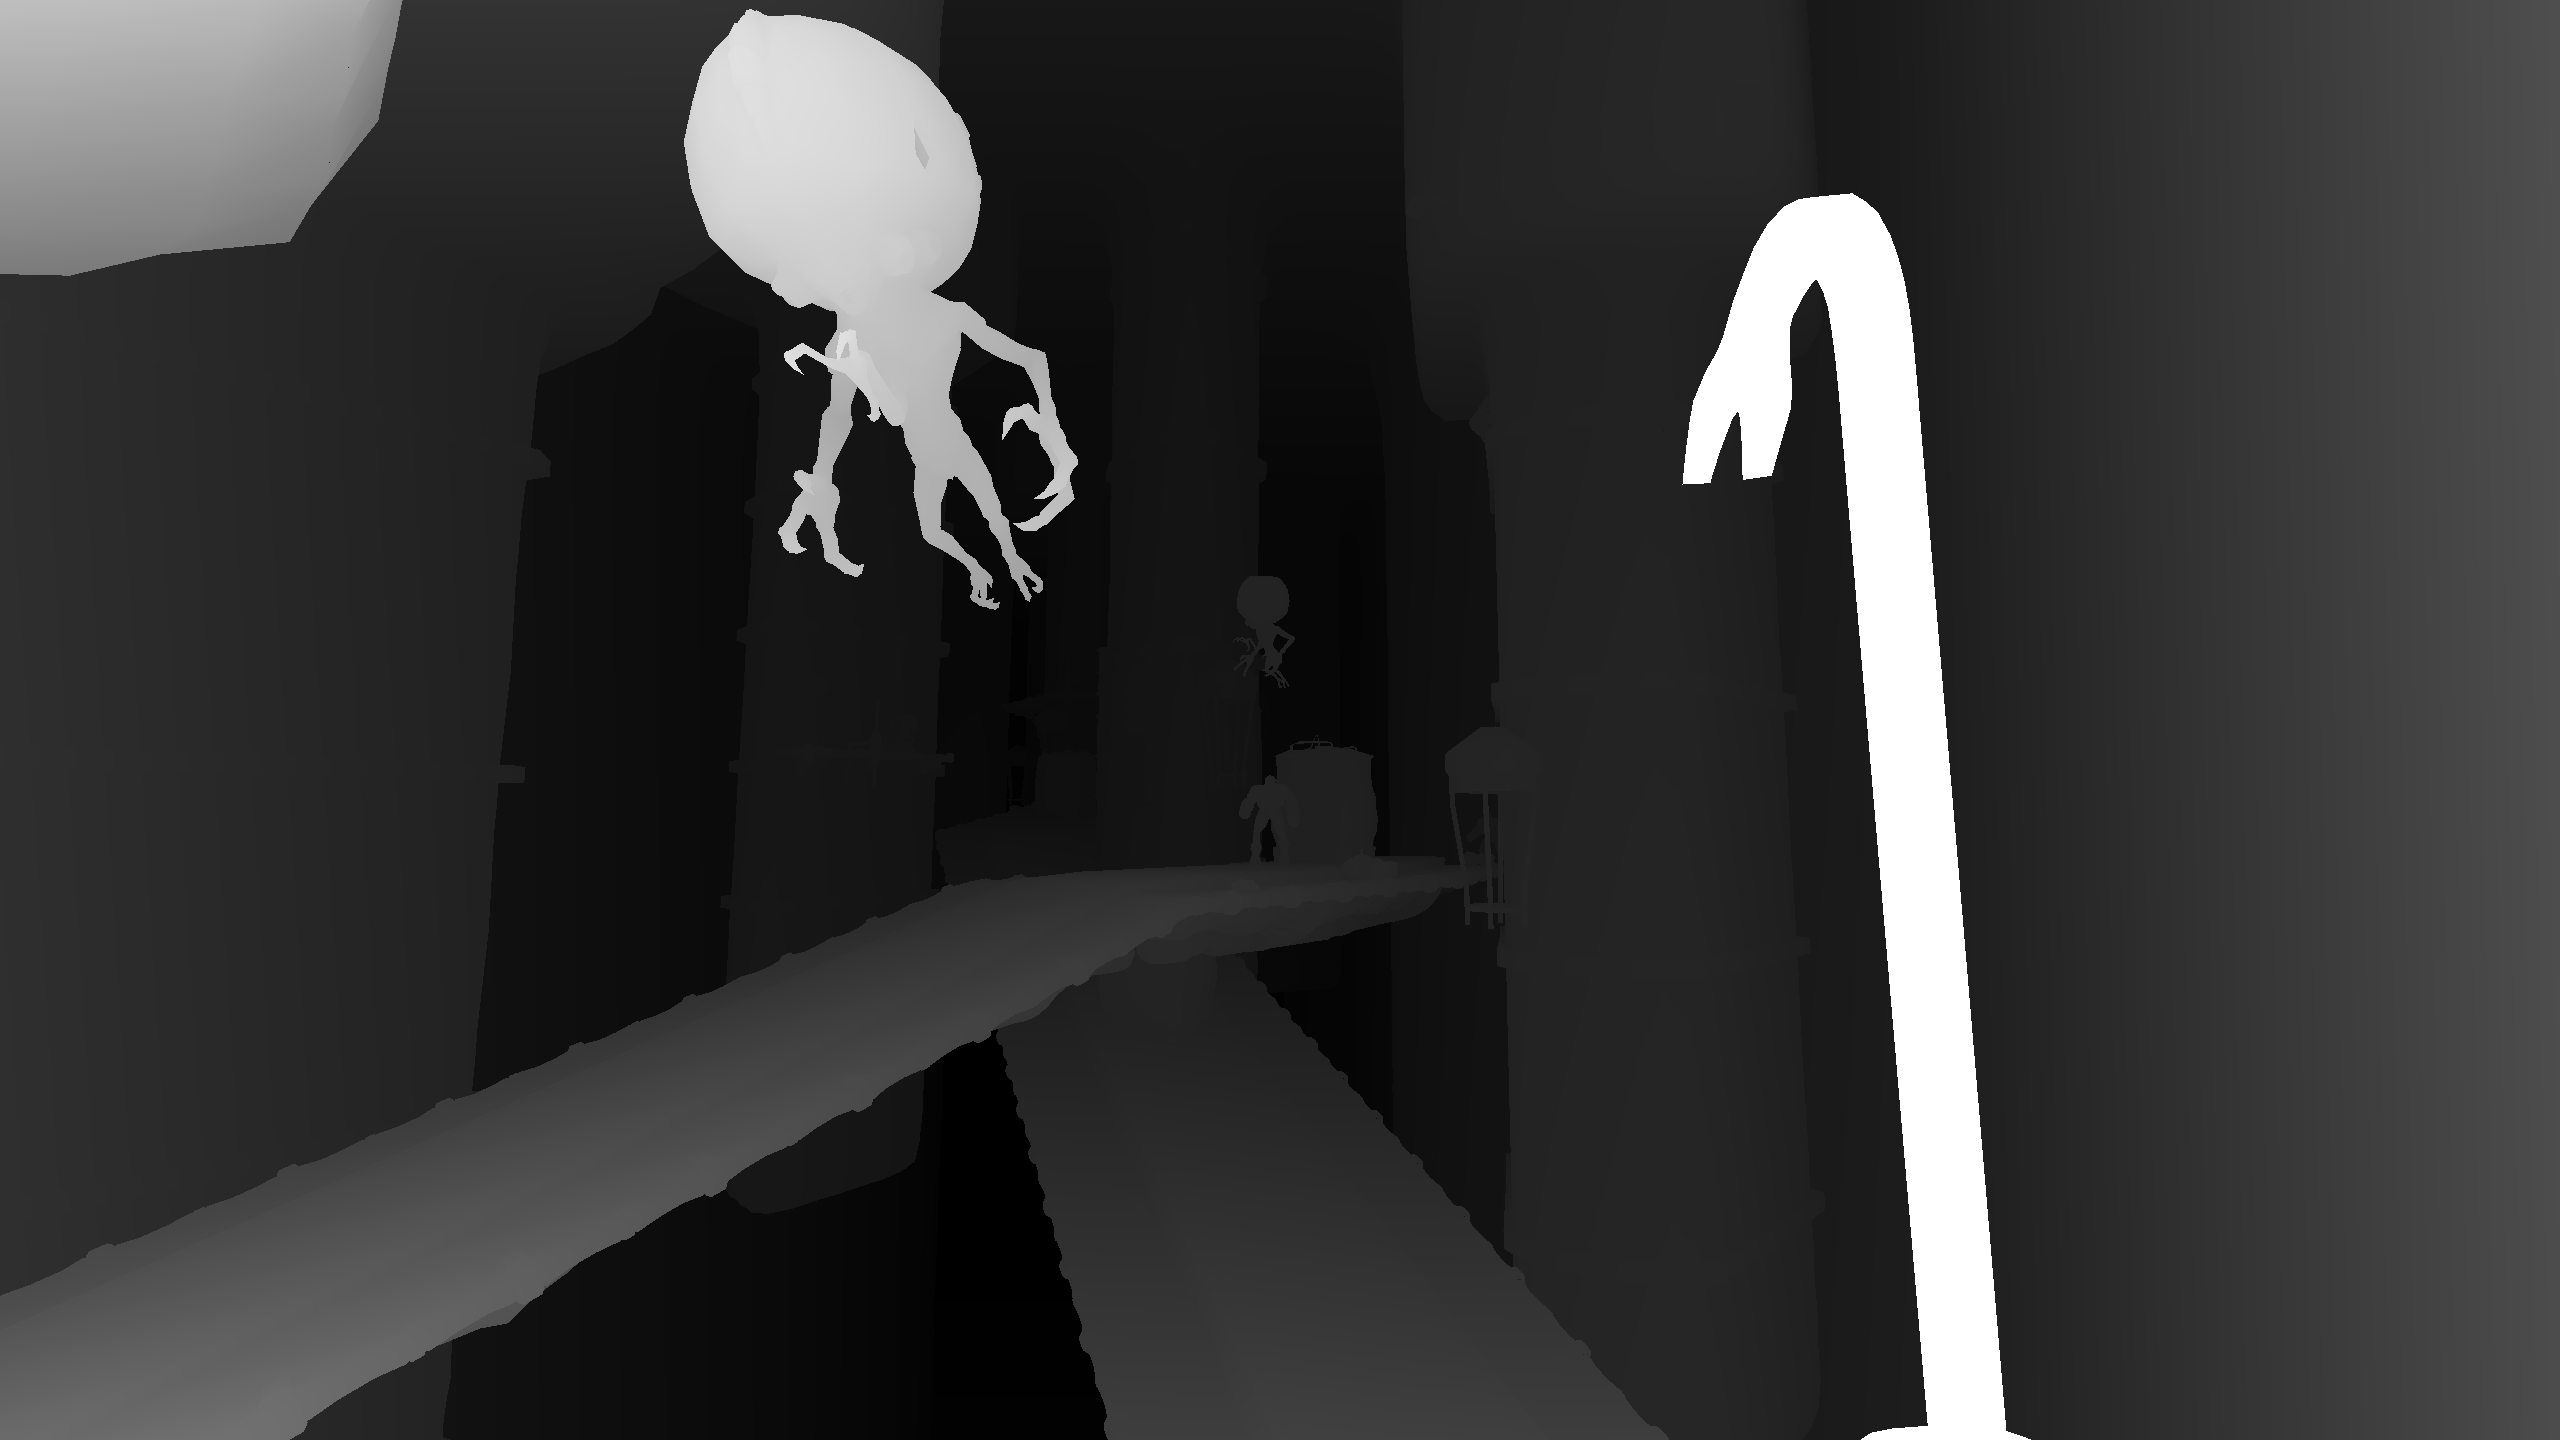
Gbuffer Pass
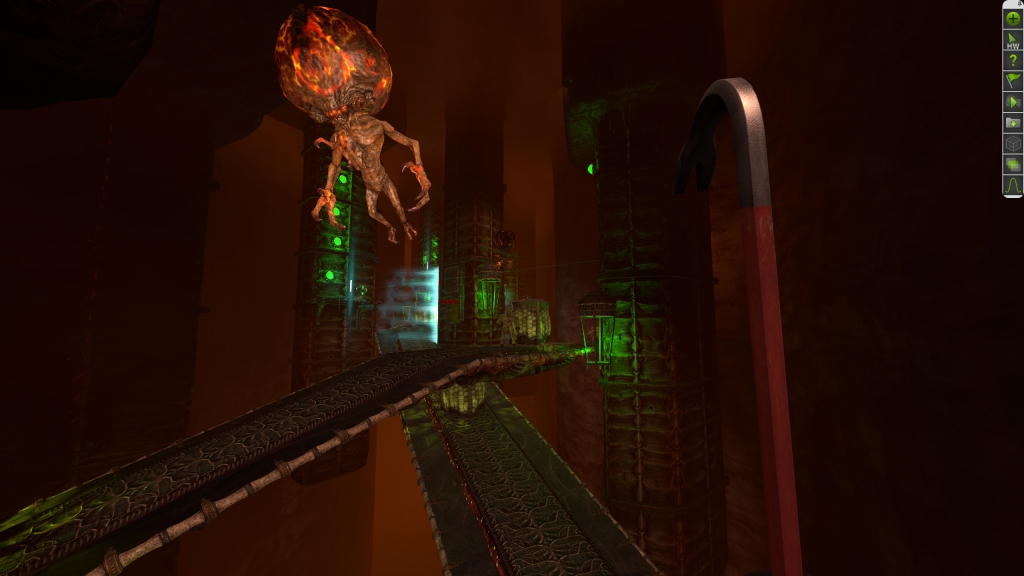
On High Settings, we use 3 buffers as follows –
RenderTarget 1 > Depth Buffer: Single channel reverse depth buffer using single channel R16F (R32F on ‘Insane’ setting) texture depending on settings. ( For any young developers reading this, we must create a separate render target to store depth values because we couldn’t read depth values from an actual depth buffer D32/16 in DX9 ).

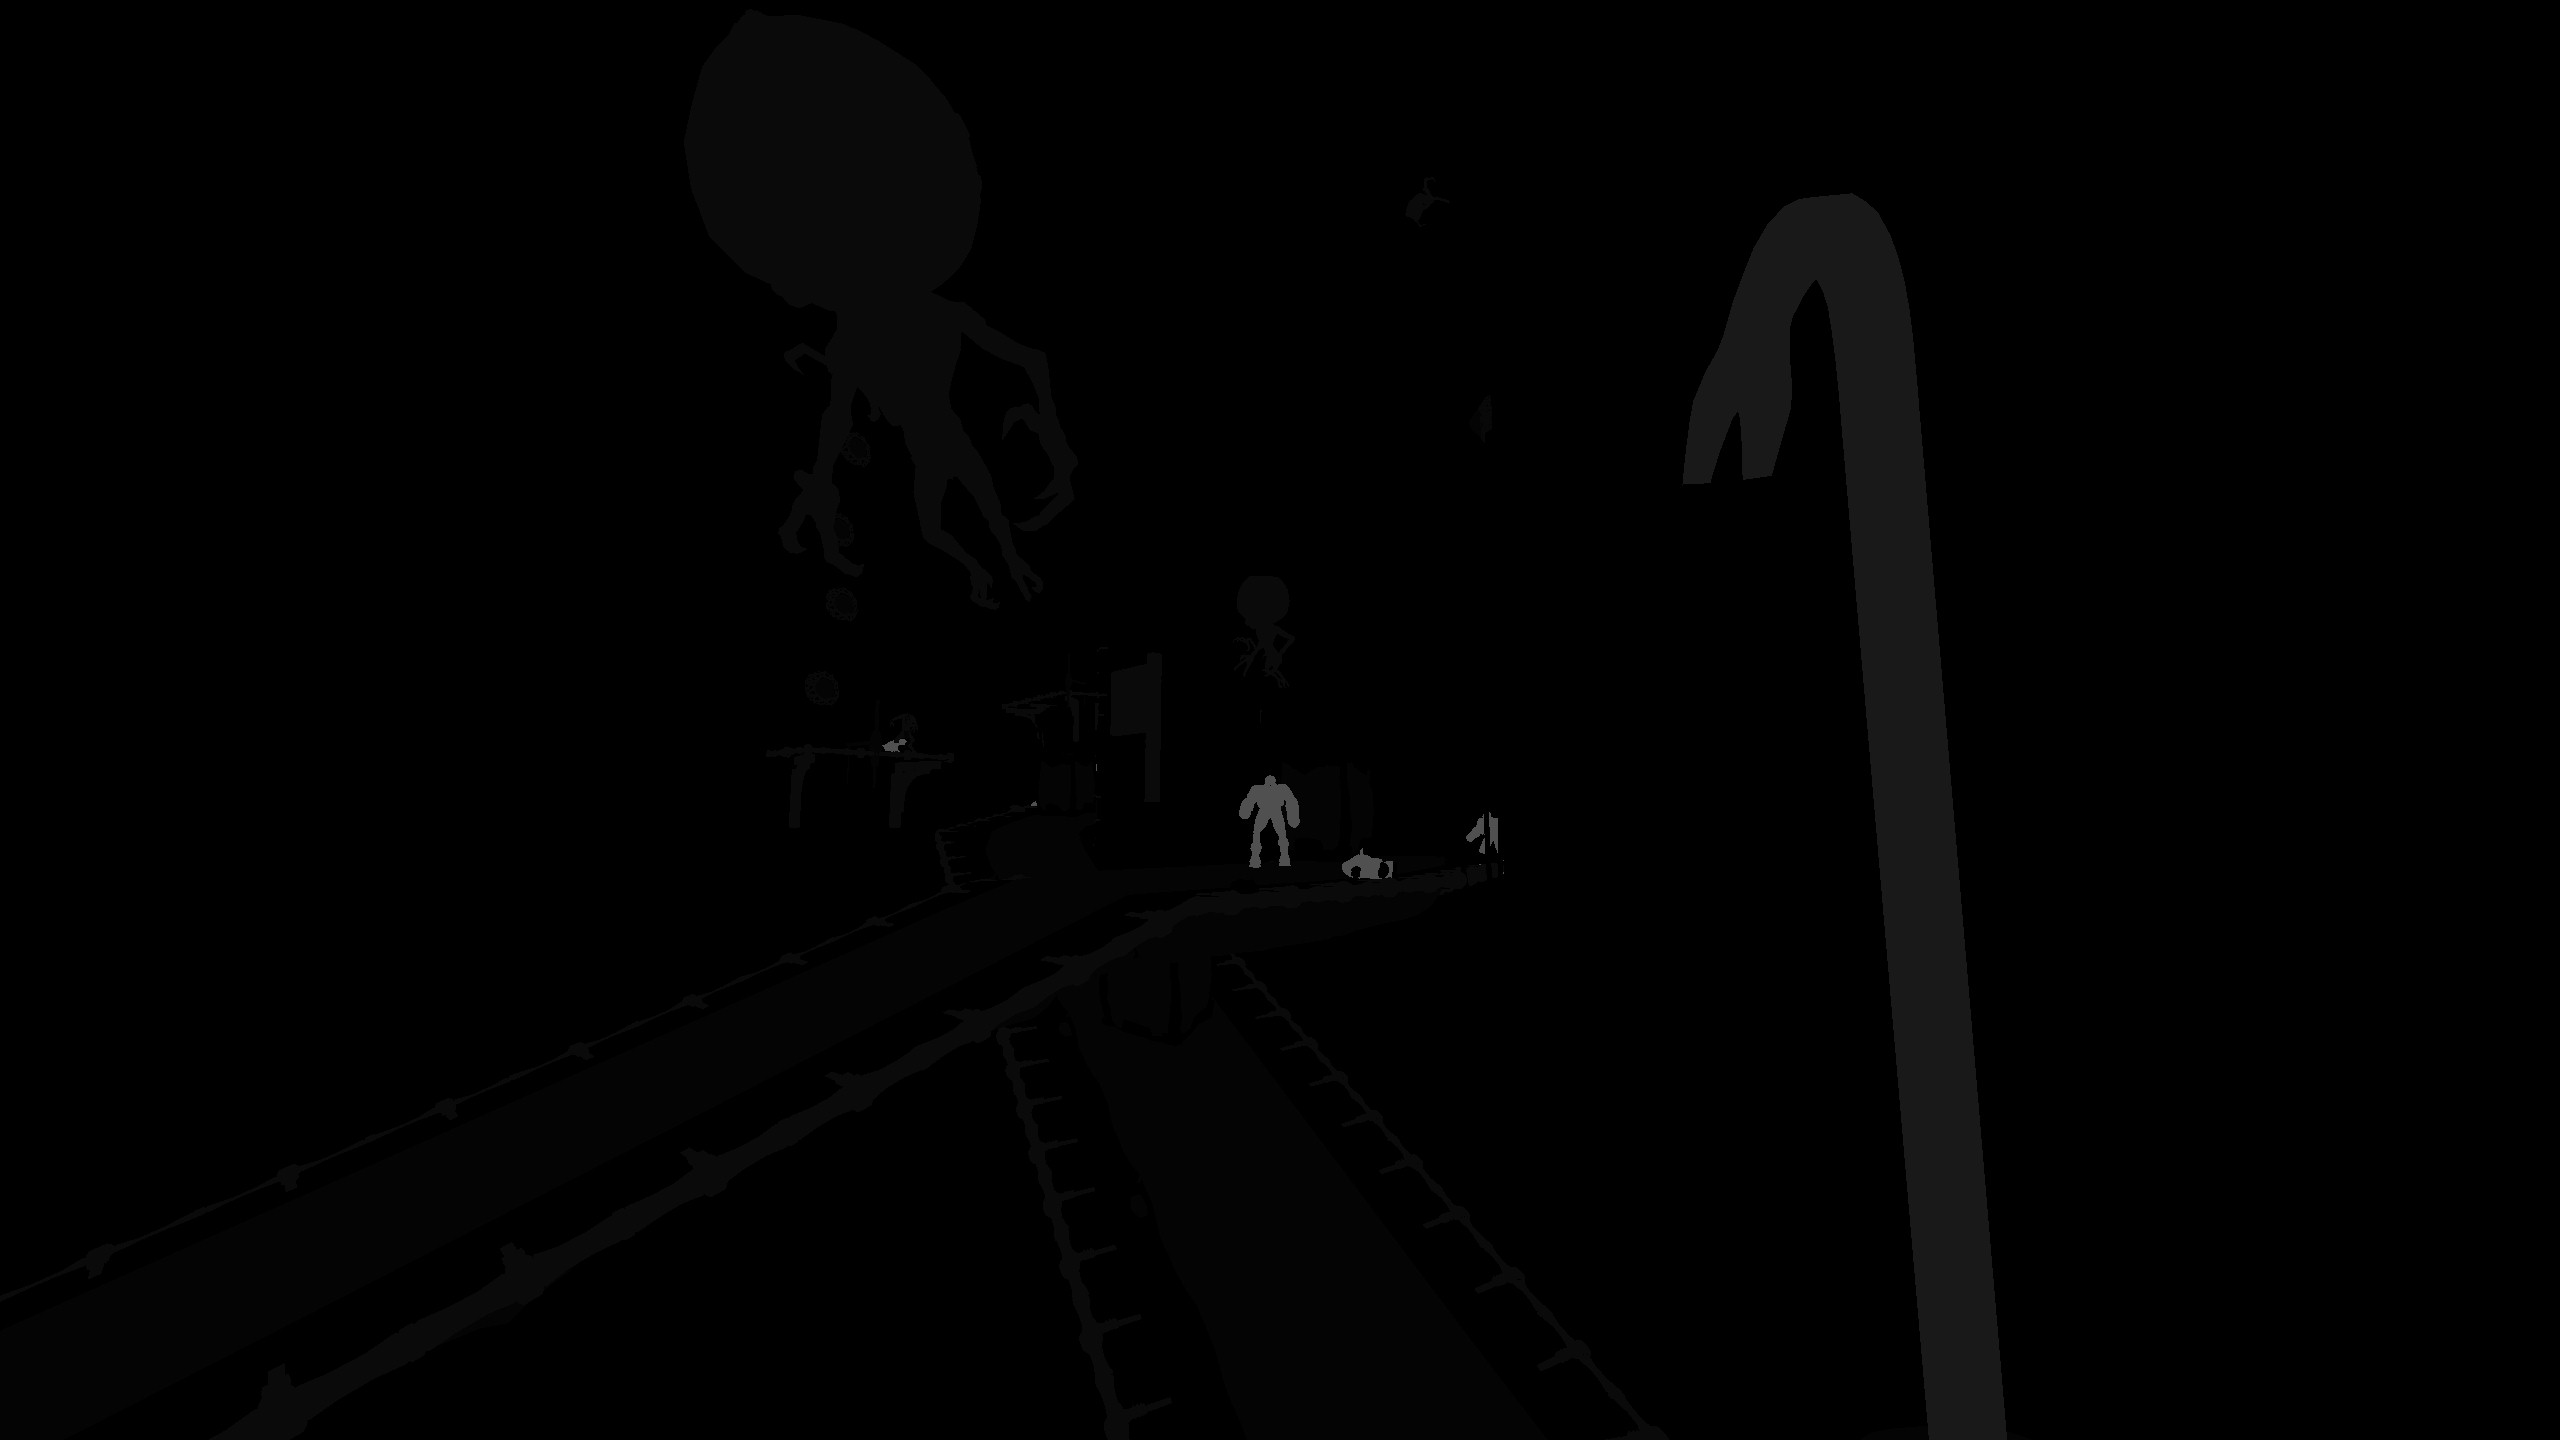
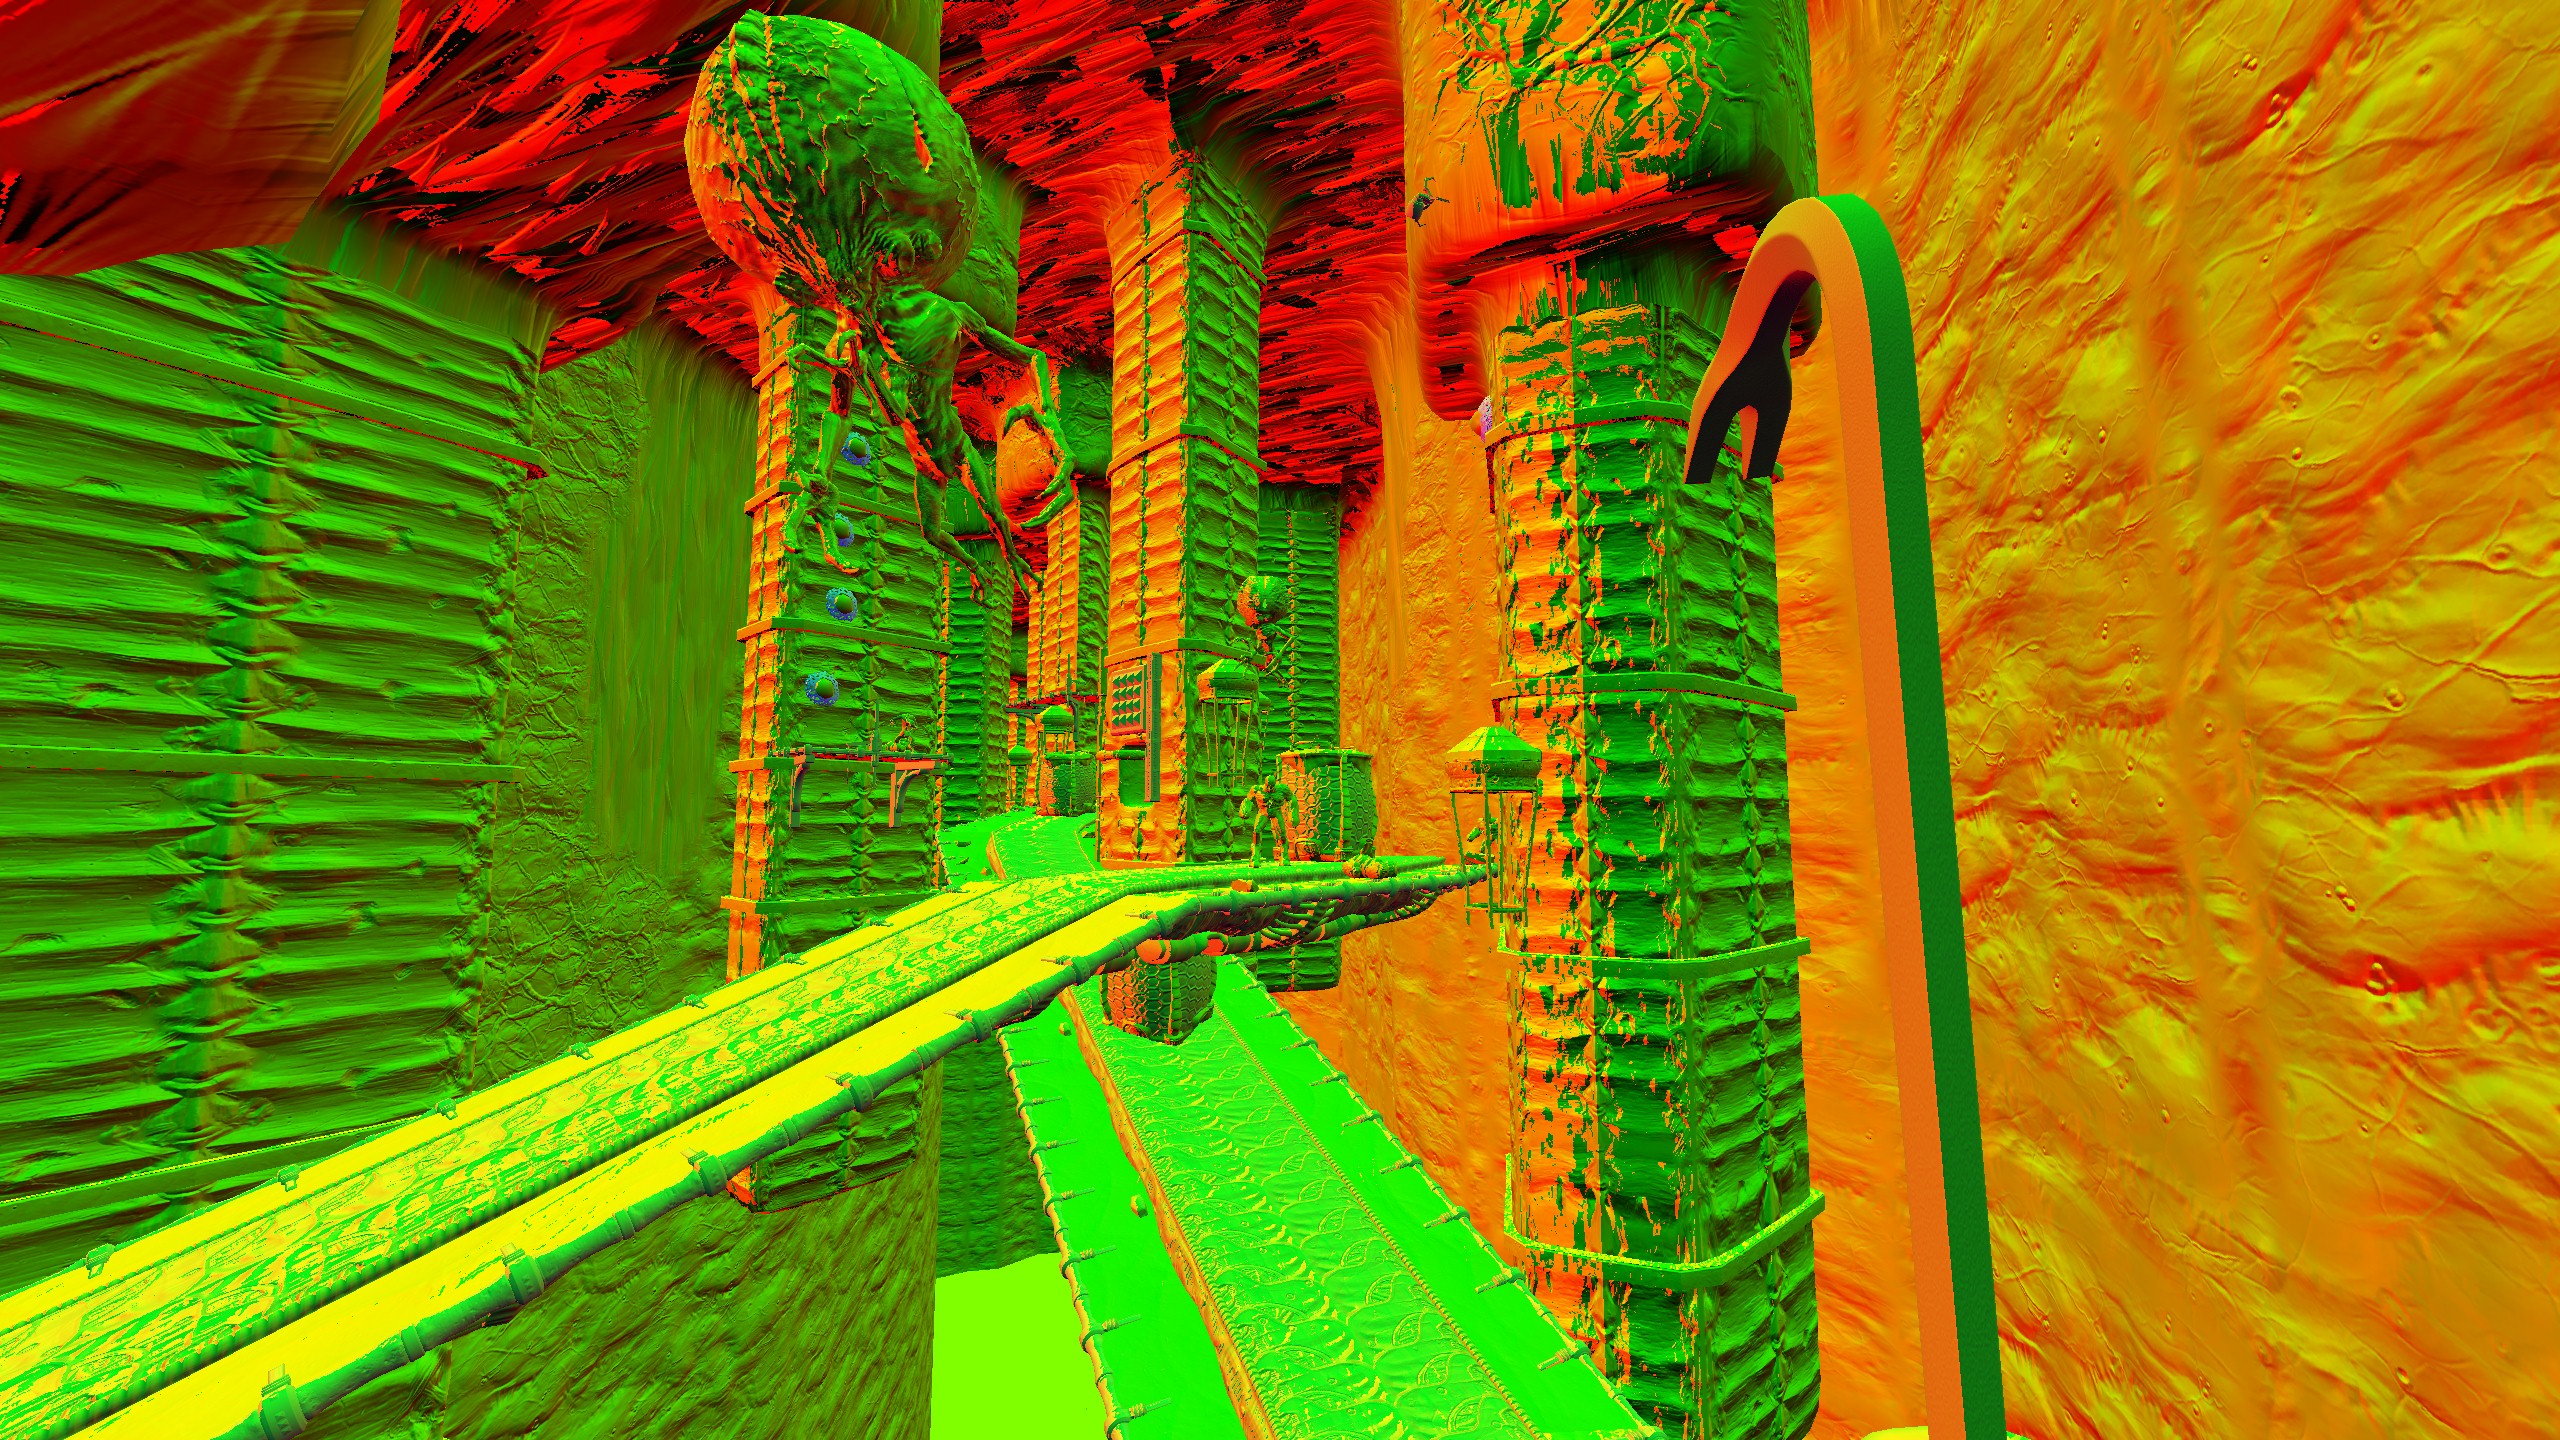
RenderTarget 2 > Normal Buffer: 24bit render target RGB8. Contains compressed normals, specular, and rim lighting terms –
- R – Compressed normal X.
- G – Compressed normal Y.
- B – Contains specular exponent term for new physically based specular or old school specular/gloss term for skin shader depending on shader-config/object being rendered.
- A – Rim exponent term for rim lighting.

RenderTarget 3 – 24bit RGBA8 render target. This one is a bit complicated render target used for storing the following info –
- R – Diffuse Half Lambert data + Diffuse light warp data(link it)
- G – Specular light warp data + a flag to mark ViewModel pixels.
- B – Fresnel term to be used during lighting pass.


Lighting Pass
We output 2-3 buffers depending on settings. Here are the details as per the Highest settings –
LightBuffer 1 – RGBA16F (64bit) render target for gathering Diffuse lighting in RGB channels. Specular lighting R channel in Alpha channel. We switch to R10G10B10A2 (32bit) render target if we are not rendering specular depending on graphics quality settings.


LightBuffer 2 – GR16F (32bit) format to gather the remaining 2 channels of specular lighting.
LightBuffer 3 – RGB10A2 render target to gather rim lighting.
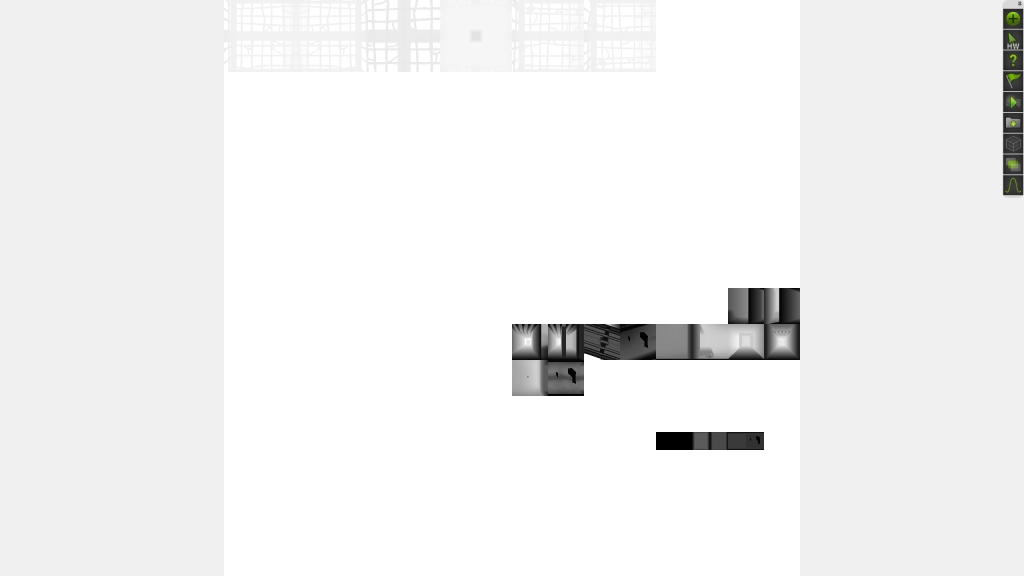
Here’s a screenshot with a rough overview of what’s rendered in GBuffer and light buffers depending on graphics quality settings. Honestly, I don’t think I ever updated this table to match the final releases up on Steam, but still, it’s a good indicator of things.

Shadows
Depending on quality settings, we use two shadow map atlases with resolutions 2k/4k/8k. We use one main Shadowmap atlas and one for caching shadows from static/stationary (Brushes/Disps/props/NPCs) world geometry for static/stationary Lights.
We use 3 shadow map LODs – High (1024), Med(512), and Low (256) with 48 slots for each on an 8K shadow map atlas. A total of 144 shadow maps per game level. Here’s an example from map bm_c4a3c where all 3 LODs are being used.
Shadow Updates
We update the static cache only once after level load in a staggered manner. Based on graphics settings, we also control the maximum number of dynamic shadow map updates per frame.
Shadow Filtering
We use from 1-tap to 9-tap filters depending on graphics quality settings. We also have 16 taps rotated poison disks and PCCS filters behind developer convars; they never got finalized because I never got the chance to get back to it to fix the last remaining bugs and polish.


Light Meshes
We render Light meshes N times for N lights. We use boxes for both points and spotlights.
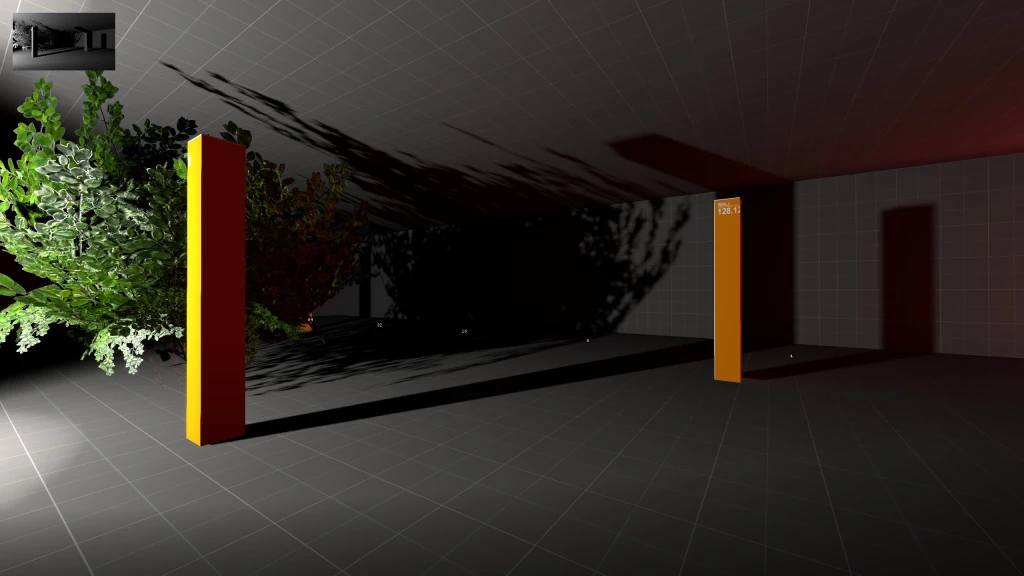
For a long time during development, we were using a Box for spotlights with a radius equal to the range of the spotlight. Needless to say, it was horrible and did hurt perf in some cases but still not a significant hit in old levels.
Light Entities
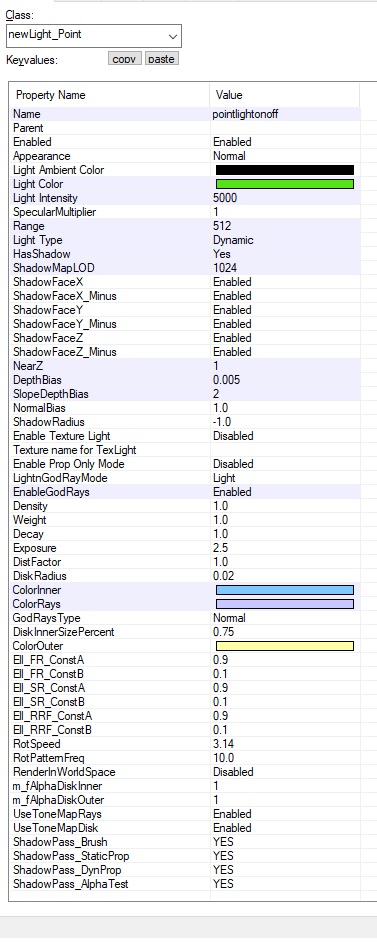
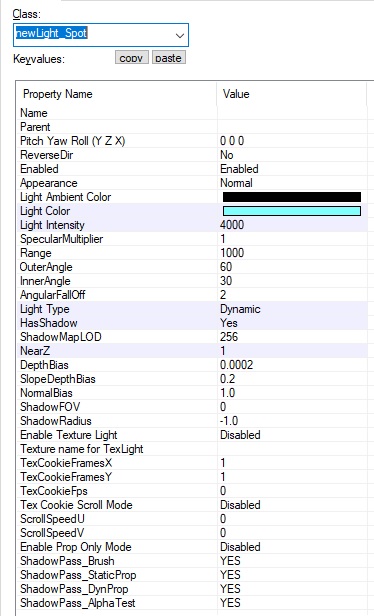
We have two light entities, newlight_pointlight and newlight_spot. Here there screenshots from Hammer (map editor). We have many options, everything people expect nowadays from the newer Engine like Unreal, all in our good old source engine.
Static/Stationary/Dynamic mostly depends on shadowed lights because we upload light data for lights every frame. The ability to shut down specific faces of point lights shadow maps was also an essential feature, given the limited amount of shadow maps. Each point light takes 6 shadow maps which can fill quite fast.
We have a limit of 512 point light entities and 256 spotlights for light entities placed in the map editor. We also have a separate limit of 256 for each point and spot code light. Code lights are temp ( or permanent) light generated from code for FX like muzzle flash etc, or attached to prop/NPCs. But they all share the shared limit of 144 Shadow maps, as explained above. Based on our testing rendering, lights without shadows were mainly free or had negligible hit on frames render time on any GPU tested GTX 1080 or above for resolution up to 1440p.
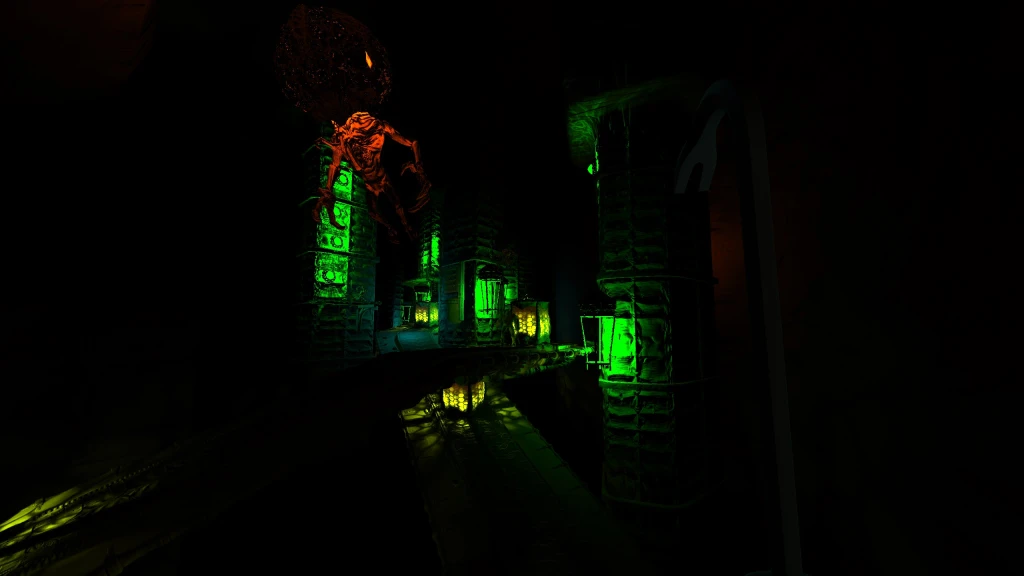
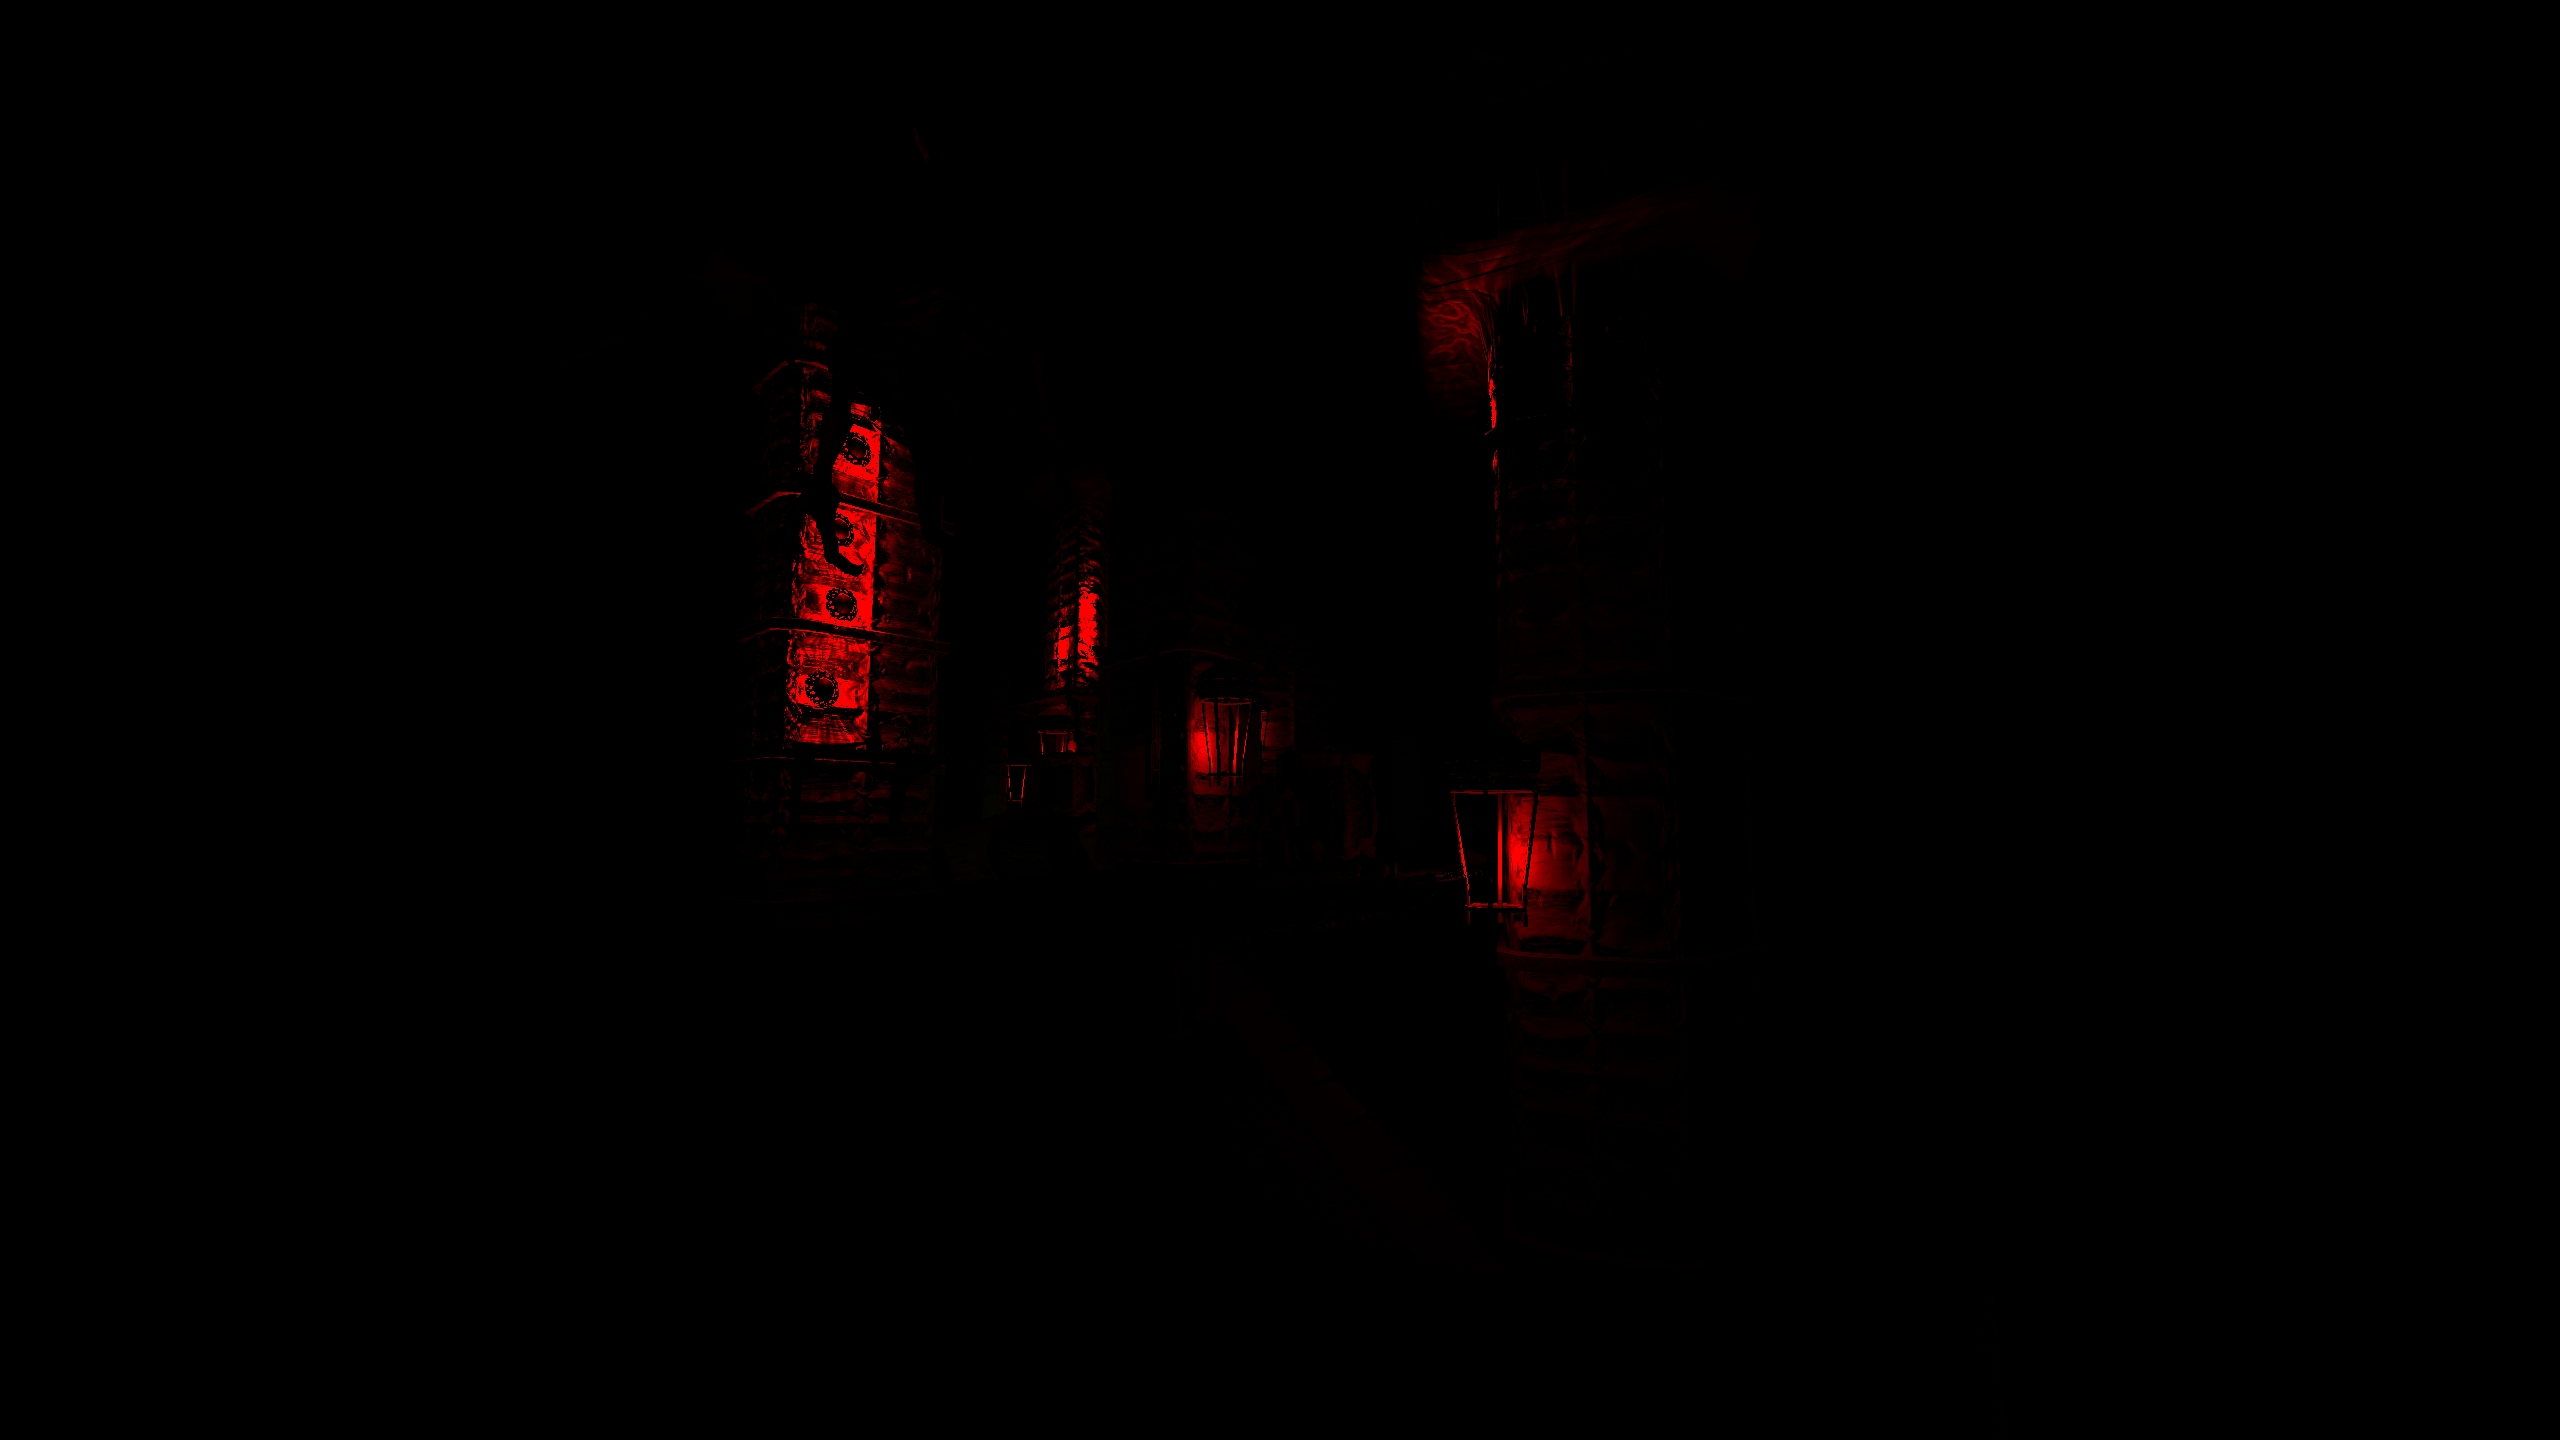
Textured / Cookie Lights
It is one of the most heavily used features of the new renderer. My initial motivation was to use them as a way to bake shadows, especially for point lights. It was also a way to overcome the limitation of 144 shadow maps since each point light uses 6 shadow maps in full configuration. We used cookie lights for various effects in the game.
For spotlight, we even support animated, textured lights with support for both scrolling and texture sprites –
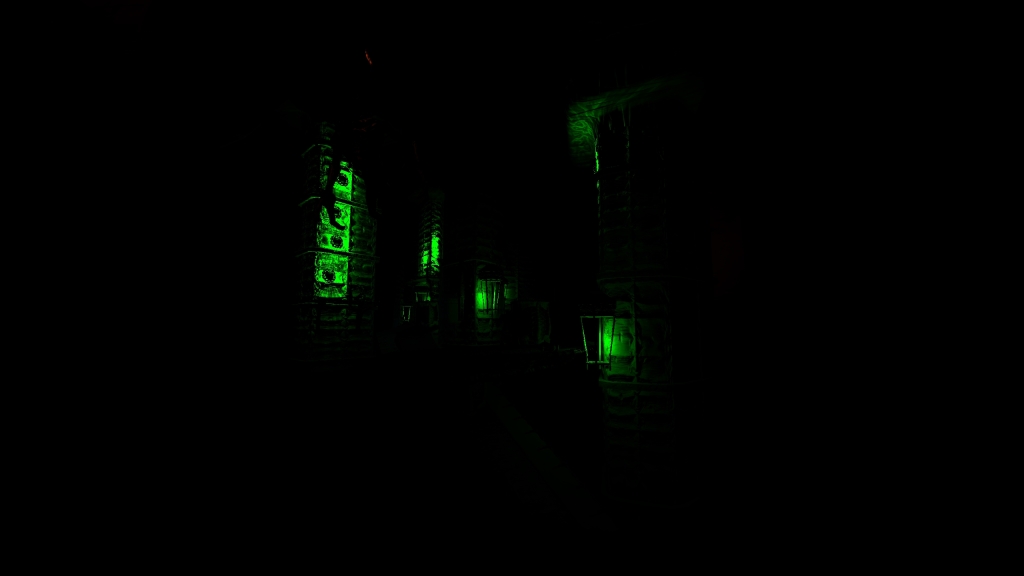
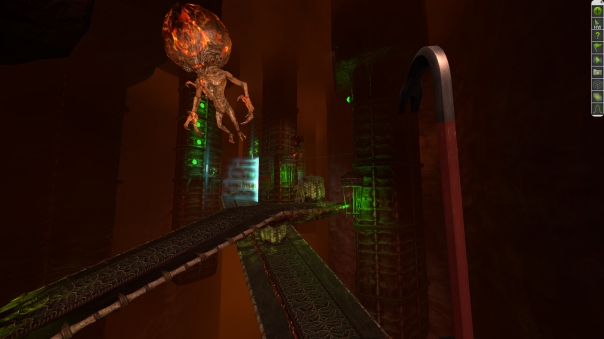
Here are some more examples of various ways we are using textured lights in the game :
Baked Shadows: Cookie textures are being used as baked shadows for point lights for Agrunt Pods in Xen. This wouldn’t have been possible without texture light since some places have around 50s of those pods. Also, the quality would be far from what it is if we used dynamic shadow maps (somehow) in the game instead of cookies. A massive win for both quality & quantity.
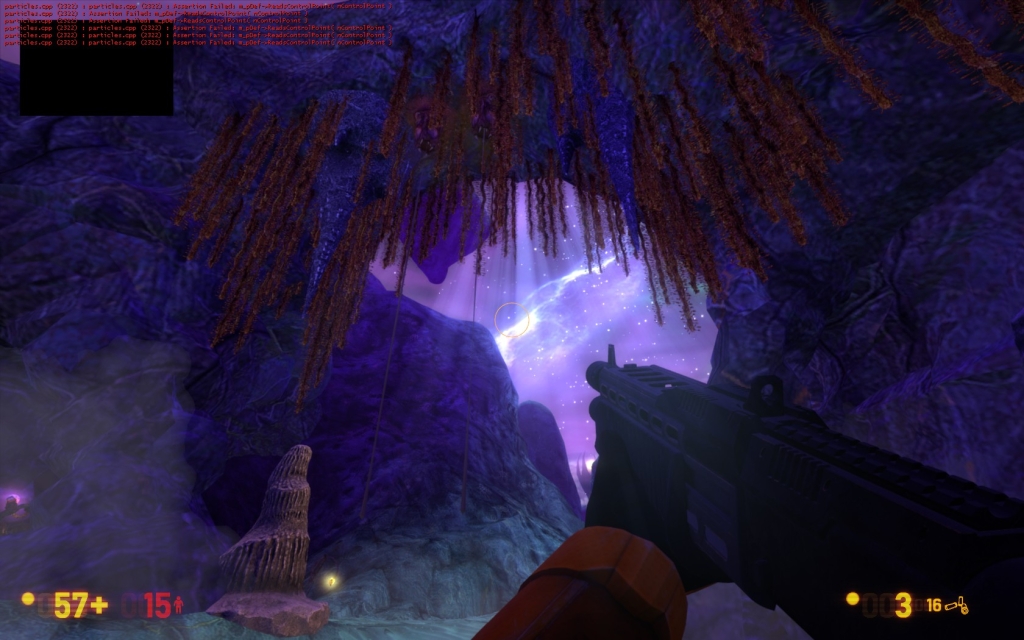
Caustics: Another unrelated feature made possible was dynamic caustics used throughout the game, especially in Xen.
Here are some more examples from the game :
Godrays
Godrays were made first-class citizens in the new renderer. Even Sun Godrays are implemented as part of new directional Light (the light part is disabled in code, so they only work as god rays). During the early days of development, when occlusion culling and light entities were not set up properly in code, they used to render irrespective of their position/visibility in the level. If there were a point light with godrays, you would notice it as soon as you spawn, leaking through the cracks every now n then. Level designers place specific triggers to turn them on/off. But as we polished the entity system for lights and other optimization, these problems were minimal. Still, those manually placed triggers played an essential role in ensuring we don’t try to render rays that are not visible and keeping perf under control in case of multiple lights with godrays in the same level.
We also added the ability to render godrays for point lights using world space quad rather than just rendering a full-screen FX based on estimated pixel position.
Later on, while working on Nihilant Boss Battle, other effects like portals were also derived from local world space godray shaders.
In-game Light Editor
At the request of level designers and to make debugging easier for me, we implemented an in-game Light / Godrays editor. It was based on console commands but had everything you would ever need. The workflow was like this –
- Enable Editor Selection mode and Select the entity in the viewport
- Lock Selection to enable editing.
- Use console commands to edit any property as needed
- UnBlock Entity / Disable Editor
To make this process easier for everyone, one of our level designers, Kim, made this Light Editor script which can be executed once to bind various console commands to keys on the keyboard to make the process much easier. The source engine’s UI is not easy to work with, and we never got the chance to develop the planned UI for the light editor. The console-based editor and Kim’s script called into that “Good Enough” zone that we never went back to making that UI for the editor.
You can download the script from here. It also contains complete help/guide of all the console commands for editing light properties.
Performance and Optimizations
- On the “Potato” settings (the lowest possible setting in the Deferred Light video setting), we only render a 16-bit DepthRT buffer using fast mode. It’s almost the same path used for shadows or depth pre-pass, and it’s super fast compared to any other Gbuffer passes. For lighting pass, we use only Diffuse lighting without normal maps. The initial plan was to make Gbuffer-related features, including Deferred lighting, an optional feature, but we decided to make XenEngine a thing moving forward. This mode was essential to provide a graphics quality setting that renders a frame with almost the same perf as before (old non-deferred source engine).
- In the final version, new light entities fully embrace the source entities and occlusion culling systems. We render, update and render shadow maps only when light entities become relevant/visible through BSP culling system.
- We also stagger the updation of shadow maps, both static/dynamic, over a few frames with a controllable max_shadowmaps_perfframe convar adjustable via graphics settings. This system was some wip even in our first beta release of XenEngine due to many related bugs and other related code paths needing to be ready in the next patch. It was a big win and fixed all the artifacts of slow shadow map updates and stutters. It also improved the overall render time per frame.
- Using static cache for reducing per-update draw calls required to update dynamic/static light shadow maps was another big win.
- 4Way Blends – We implemented a 4WayBlend shader and upgraded it to include 4 bump maps and tri-planar mapping, enabling all the options from other material shaders. With all the options enabled, it maxes out D3D9 and SM3.0 texture limit of 16 textures, most using 4k/2k textures. We fetch each texture 3 times with tri-planar mapping, so 4 diffuse + 4 normal maps become 8×3 = 24 textures in this shader/ material.
We had these outdoor forest-looking scenes with these materials filling up 75-90 of the screen. It was really chocking up the GPUs, even GTX 1080, and FPS was unplayable Best example would be map XenB or bm_C4a1b; perf was really bad on that map. It was one of the contributing factors to the decision to permanently disable MSAA from the game (instead, we implemented FXAA).
It was supposed to be one of those fancy features to be used cautiously. But it became the default texturing mode in Xen for the Art Deptt.
We turned off the normal maps below medium settings for these materials to optimize this. We took normal maps entirely out of the main shader for higher settings into Gbuffer, so both deferred and baked lights used normals from buffer normal, even on Higher settings.
I think it was somewhere around this discovery that we implemented the ability to render Gbuffer at resolutions lower than the viewport and independently control the quality and resolution of Gbuffer for secondary cameras ( used for water reflection, etc.). The heavy area in the above map also had water in it, with real-time reflection enabled.
Posted on July 18, 2023, in BlackMesa / Source Engine, Graphics and tagged blackmesa, source engine. Bookmark the permalink. 3 Comments.

coolio
Thank you! This was very useful for me while I was creating my pages about new light entities, this also explained me some features. Here the pages, I also added there issues that have all this new lights (including the issue with broken halflambert) (there are around 30 real bugs).
https://developer.valvesoftware.com/wiki/NewLight_Point
https://developer.valvesoftware.com/wiki/NewLight_Spot
https://developer.valvesoftware.com/wiki/NewLight_Dir
https://developer.valvesoftware.com/wiki/Newxog_volume
https://developer.valvesoftware.com/wiki/Env_lensflare